bka logo

British Kendama Association

Kendama: "Elegant Simplicity. Infinite Complexity. Ultimate Fun."

Welcome to the BKA: the ultimate resource for all kendama-related information. You'll find the all latest kendama news, and a wealth of other info on the pages linked below. If you're completely new to the Japanese skill-toy that is kendama,
and don't know what it's all about, watch this.
Home - Blog - Forum - Store - Events - History - Anatomy - Basics - Tricks - Why? - Pics - Grades - Contact
Setting up your kendama
String
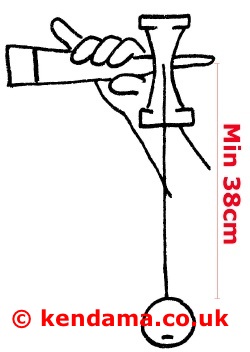
Your string should be a minimum of 38cm between the cross-piece and the ball.

A rough guideline is to put the ball on the spike and then pull the string down towards bottom cup. You should be able to put two finger-widths into the loop hanging below the bottom cup. Of course, some people have fatter fingers than others, and some prefer to play with longer strings, but if your loop is 4 finger-widths or more, it's probably too long.

Sometimes during play, you may find that the knot/bead in the ball pops out of the hole. This can sometimes cause an obstruction between the ball and the ken. To prevent this from happening, you may wish to tie a small figure-of-8 knot in the string ~1.5cm above the ball.
(If you don't like the idea of tying a knot, an alternative is to gently touch the string with your ring finger-tip during the "pull-up" part of a trick. The friction against the finger is usually enough to stop the "bead pop".)
string length
Right or Left Handed

When holding the kendama in the Ken (Common) grip, with your thumb under the Big Cup, the string hole should be on the opposite side of the cross-piece to your hand. If it isn't, you'll need to re-string your kendama through the opposite hole in the cross-piece.
ken grip
Ken grip
Glueing the tip

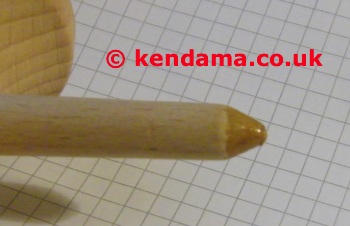
You can harden the tip of your spike, to prevent it getting blunt during play. To do this, hold the ken upside-down, and dip the tip into a small blob of superglue. Then use a paperclip or pin to spread the glue along the slope of the tip. Do not go beyond the slope! Let the kendama stand/hang upside down for 24 hours to allow the superglue to soak in and dry fully.

Please be aware that a hardened tip may be more likely to cause paint to chip. To avoid this, play gently, and use good technique. Or, wait until your tip has bluntened a little bit before you glue it.
superglued tip
Fixing the cross-piece

Usually, the cross-piece stays in place on the ken. If however, you find your cross-piece slipping, you can fix it in place in one of the following ways:
A) Make sure you've pushed it down firmly onto the ken!
B) Use a very small amount of superglue to on the shaft of the ken.
Caution!
: If you use too much, you won't be able to remove it again when you need to re-string the kendama.
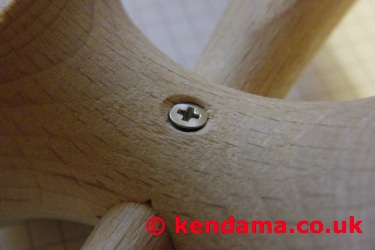
C) Use a small screw. Screw through the opposite string hole, making sure that the head of the screw sits flush with the cross-piece.
D) Use the PostIt note fix. See video linked from here.
screwed cross-piece
These modifications listed above are all permitted for kendamas to be used in BKA competition play. Please check the Approved page to see what modifications to your kendama are allowed/disallowed.
Facebook facebook - Twitter twitter - RSS feed rss